How to Make Pokemon-Themed Desserts for Kids - Step by Step Fun Guide
Learn how to create adorable Pokemon-inspired desserts that kids will love. This step‑by‑step guide covers everything from planning the theme to decorating with fondant and candy, perfect for birthday parties or a fun family activity.
Learn how to make pokemon-themed desserts for kids - step by step fun guide. Learn how to create adorable Pokemon-inspired desserts that kids will love. This step‑by‑step guide covers everything from planning the theme to decorating with fondant and candy, perfect for birthday parties or a fun family activity. This comprehensive guide will walk you through everything you need to know, from the materials and tools required to detailed step-by-step instructions. Whether you're a beginner, this guide has you covered.
What You'll Need
Materials
- Boxed vanilla cake mix(1 box (15 oz))
Base for cupcakes or sheet cake
Where to find: Grocery store baking aisle
Cost: $2.50
- Large eggs(3)
Needed for cake batter
Where to find: Supermarket
Cost: $0.60
- Whole milk(1 cup)
Adds moisture to batter
Where to find: Any grocery store
Cost: $0.30
- Unsalted butter (melted)(1/3 cup)
Provides richness
Where to find: Dairy section
Cost: $0.80
- Food coloring (red, yellow, blue, green)(Small bottles)
Color fondant and frosting to match Pokemon palettes
Where to find: Baking aisle or craft store
Cost: $3.00
- White fondant(1 lb)
Primary medium for shaping Pokemon faces
Where to find: Baking supply store or online
Cost: $5.00
- Candy eyes (edible)(1 pack (30 pcs))
Creates realistic Pokemon eyes
Where to find: Candy aisle or specialty cake shop
Cost: $2.00
- Edible glitter or shimmer dust(1 small jar)(Optional)
Adds sparkle to Pikachu’s cheeks or Jigglypuff’s aura
Where to find: Baking supply store
Cost: $3.50
- Sprinkles (multicolor)(1 cup)(Optional)
For decorative accents on frosting
Where to find: Grocery store
Cost: $1.20
- Piping gel (clear)(1 tube)(Optional)
Helps attach fondant pieces securely
Where to find: Baking aisle
Cost: $2.00
Tools
- Large mixing bowl
For combining cake batter
Alternatives: Deep saucepan
- Electric hand mixer
Ensures smooth batter without lumps
Alternatives: Stand mixer, Whisk
- Baking pan (12‑inch round) or cupcake tray
Depends on whether you want a sheet cake or cupcakes
Alternatives: Muffin tin, Silicone baking mat
- Rolling pin
Rolls fondant to even thickness
Alternatives: Smooth bottle, Fondant roller
- Fondant cutters or small cookie cutters
Shapes ears, tails, and other Pokemon features
Alternatives: Sharp knife, Pizza cutter
- Piping bags with small round tips
Applies fine details like whiskers or mouth lines
Alternatives: Plastic sandwich bags, Squeeze bottle
- Offset spatula
Smooths frosting and lifts fondant pieces
Alternatives: Butter knife, Palette knife
- Cooling rack
Prevents cupcakes from becoming soggy
Alternatives: Wire rack, Clean kitchen towel
- Toothpick or fine tip brush(Optional)
Creates tiny texture details
Alternatives: Skewer, Fine paintbrush
- Kitchen scale(Optional)
Ensures accurate ingredient measurements
Alternatives: Measuring cups and spoons
Step-by-Step Instructions
Plan Your Pokemon Theme and Gather Supplies
Choose which Pokemon characters you’ll feature and collect all materials.
Before you turn on the oven, decide on a clear theme that matches the occasion. Popular choices for kids include Pikachu, Eevee, and Jigglypuff because of their bright colors and simple shapes. Sketch a quick layout of how many cupcakes or cake slices you need, then list each character’s signature colors—yellow for Pikachu, brown for Eevee, pink for Jigglypuff. This planning stage helps you purchase the right amount of food coloring, fondant, and candy eyes, preventing waste and ensuring you have everything on hand. Keep the sketch visible on your countertop; it will serve as a visual cue while you work through each decorating stage, reducing the chance of forgetting a detail like Pikachu’s lightning‑shaped tail or Jigglypuff’s microphone.
15 minutes
Tips:
- Create a simple mood board with printed Pokemon images.
- Group similar colored ingredients together for easy access.
Warnings:
- Avoid buying excessive food coloring; a few drops go a long way.
Bake the Base Cake or Cupcakes
Prepare the batter, pour into pans, and bake until golden.
Follow the instructions on the boxed vanilla cake mix, substituting the recommended oil with melted butter for richer flavor. In a large mixing bowl, combine the cake mix, eggs, milk, and melted butter using an electric hand mixer on medium speed for about two minutes, until the batter is smooth and free of lumps. Grease your chosen baking pan or cupcake tray with a thin layer of butter or non‑stick spray, then evenly distribute the batter. Bake in a pre‑heated oven at 350°F (175°C) for 18‑20 minutes for cupcakes or 25‑30 minutes for a sheet cake, checking doneness with a toothpick inserted into the center—if it comes out clean, the cake is ready. Once baked, let the cakes cool completely on a cooling rack; this prevents frosting from melting and provides a stable surface for fondant application.
30 minutes
Tips:
- Rotate the pan halfway through baking for even color.
- Place a sheet of parchment paper under the cooling rack to catch drips.
Warnings:
- Never open the oven door during the first 10 minutes; it can cause the cake to collapse.
Color and Shape Fondant into Pokemon Features
Divide fondant, tint with food coloring, and cut out shapes.
Take the white fondant and knead it on a lightly powdered surface until pliable. Divide the fondant into separate bowls for each Pokemon color—yellow for Pikachu, brown for Eevee, pink for Jigglypuff, and any accent colors like red for cheeks. Add a few drops of the appropriate food coloring to each portion, then knead until the hue is uniform; remember that a little color goes a long way, so start with less and add more if needed. Roll each colored fondant to a thickness of about 1/8 inch using a rolling pin. Using fondant cutters or a small knife, cut out basic shapes: circles for faces, ovals for ears, and triangles for tails. For finer details like Pikachu’s lightning bolt tail, use a small knife to carve the shape, then smooth edges with an offset spatula. Keep the cut pieces covered with a damp cloth to prevent drying out while you work on other components.
45 minutes
Tips:
- If fondant cracks, gently warm it between your palms to restore elasticity.
- Use a clean, dry surface to avoid sticking.
Warnings:
- Do not over‑knead colored fondant; it can become sticky and difficult to roll.
Assemble and Decorate the Desserts
Apply frosting, attach fondant pieces, and add final details.
First, frost each cooled cupcake or cake slice with a smooth layer of vanilla buttercream using an offset spatula. The frosting acts as glue for the fondant, so apply a thin, even coat. Lightly brush a small amount of clear piping gel onto the back of each fondant piece; this creates a tacky surface that holds the pieces in place without sliding. Position the fondant faces onto the frosting, gently pressing to adhere. Add ears, tails, and other features, securing each with a dab of piping gel. Place candy eyes onto the fondant faces, pressing lightly to embed them. For Pikachu’s rosy cheeks, dot a tiny amount of red food coloring or edible glitter. Use a piping bag with a fine tip to draw mouths, whiskers, or other line details. Finally, sprinkle multicolor sprinkles around the base for a festive look and dust a light pinch of edible glitter on top for extra sparkle.
30 minutes
Tips:
- Work quickly once the frosting is applied; it can begin to set after a few minutes.
- Use a toothpick to smooth any air bubbles under fondant.
Warnings:
- Avoid using too much piping gel, as excess can make the surface sticky and attract dust.
Serve, Store, and Enjoy Your Pokemon Sweets Paradise
Present the desserts, then store leftovers properly.
Arrange the finished Pokemon cupcakes on a decorative platter or a themed cake stand to showcase each character. Encourage kids to identify their favorite Pokemon before digging in—this adds an interactive element to the party. If you have leftovers, store the cupcakes in an airtight container at room temperature for up to two days; the fondant will stay fresh, and the buttercream will remain soft. For longer storage, refrigerate the cupcakes (covered loosely with plastic wrap) for up to five days, allowing them to come to room temperature before serving to restore optimal texture. Avoid freezing fondant‑decorated desserts, as the moisture shift can cause cracks. Clean up any stray food coloring with a damp cloth, and enjoy the smiles that your Pokemon-themed creations bring!
15 minutes
Tips:
- Add a small Pokemon figurine next to the platter for extra visual appeal.
- Label each cupcake with the Pokemon name for easy identification.
Warnings:
- Do not leave the cupcakes out in direct sunlight for extended periods; fondant can melt.
Conclusion
You've now learned how to make pokemon-themed desserts for kids - step by step fun guide! By following these 5 detailed steps, you should be able to successfully complete this task. Remember to use a silicone mat when rolling fondant to prevent sticking.. If you encounter any issues, refer back to the troubleshooting section above.
Common Mistakes to Avoid
❌ Fondant cracks when rolled too thin.
✅ Roll to a minimum of 1/8 inch thickness and keep the surface lightly powdered.
❌ Over‑mixing the cake batter leads to a dense texture.
✅ Mix just until ingredients are combined; stop as soon as the batter is smooth.
❌ Applying too much frosting makes fondant slide off.
✅ Spread a thin, even layer of buttercream and let it set for a minute before adding fondant.
Troubleshooting
Problem: Fondant pieces lose shape during transport.
Solution: Place finished cupcakes in a shallow cake box with a lid; keep the box upright and avoid shaking.
Problem: Food coloring stains the frosting underneath.
Solution: Apply a thin barrier of white fondant or a light layer of buttercream before adding colored fondant.
Problem: Candy eyes sink into the fondant.
Solution: Press the eyes gently and then seal around them with a dab of piping gel to hold them in place.
Frequently Asked Questions
Can I use gluten‑free cake mix for these desserts?
Yes, substitute a gluten‑free vanilla cake mix and follow the same measurements; the texture will remain light and fluffy.
How do I make fondant at home instead of buying it?
Combine 1 cup of marshmallows, 2‑3 tbsp of water, and 2‑3 cups of powdered sugar, then knead until smooth; add food coloring as needed.
Is edible glitter safe for children with allergies?
Most edible glitter is sugar‑based and safe, but always check the ingredient label for allergens like soy or gluten.
What’s the best way to keep the cupcakes fresh on the day of the party?
Store them in a single layer inside an airtight container at room temperature; if humidity is high, place a paper towel between layers to absorb moisture.
Can I replace buttercream with cream cheese frosting?
Absolutely—cream cheese frosting works well and adds a tangy flavor that pairs nicely with the sweet fondant.
Quick Info
- Difficulty
- Beginner
- Time Required
- 2 hours
- Estimated Cost
- $20.90 USD
- Category
- Food & Cooking
Safety First
- •Always preheat the oven and use oven mitts when handling hot pans.
- •Keep knives and fondant cutters away from children’s reach.
- •Wash hands thoroughly before handling edible decorations.
- •Use food‑grade coloring and glitter to avoid ingestion of non‑edible substances.
Pro Tips
- •Use a silicone mat when rolling fondant to prevent sticking.
- •Mix a tiny amount of corn syrup with food coloring for smoother, glossy hues.
- •Keep a spray bottle of water nearby to lightly mist fondant that begins to dry.
- •Practice cutting basic shapes on a piece of parchment before working on the actual fondant.
- •Store colored fondant in airtight containers with a slice of fresh bread to retain softness.
Before You Start
- Basic understanding of measuring dry and liquid ingredients.
- Familiarity with using an electric mixer.
- Ability to safely handle a hot oven.
What's Next?
- →Learn advanced fondant sculpting to create 3‑D Pokemon figures.
- →Explore Pokemon-themed chocolate molding techniques.
- →Create a full Pokemon cake with multiple layers and characters.
Related How-To Guides

How to Make Perfect No-Knead French Baguettes – Crispy, Light, Step‑by‑Step for Beginners
Learn to bake authentic French baguettes at home without kneading. This step‑by‑step guide covers mixing, folding, shaping, and steaming for a crispy crust and airy crumb.

How to Make Kid-Friendly One-Pot Meals - 10 Easy Recipes for Busy Parents
Learn to whip up ten quick, nutritious one‑pot meals that kids love. From squid stir‑fry to shrimp oat risotto, each recipe uses simple ingredients, minimal cleanup, and kid‑approved flavors.

How to Make Rich Dried Pollack Soup – Step by Step Guide for Beginners
Learn to create a deep‑flavored, milky dried pollack (북어) soup that tastes like it was simmered in a traditional Korean cauldron. This guide walks you through every step, from prepping the fish to perfecting the broth.
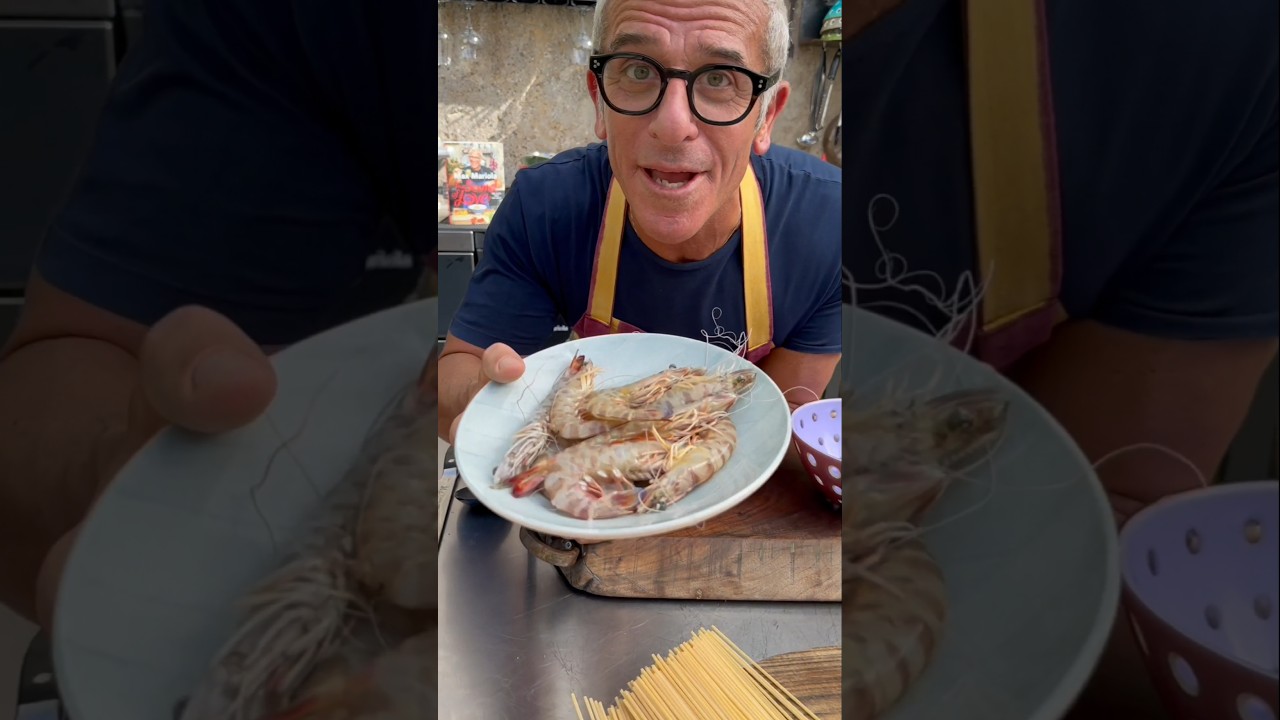
How to Make Creamy Shrimp Spaghetti – Step‑by‑Step Guide for Home Cooks
Learn to create a restaurant‑quality shrimp pasta in under an hour. This guide walks you through cleaning fresh mazzancolle, building a fragrant shrimp stock, and finishing a silky cream sauce that coats every strand of spaghetti.
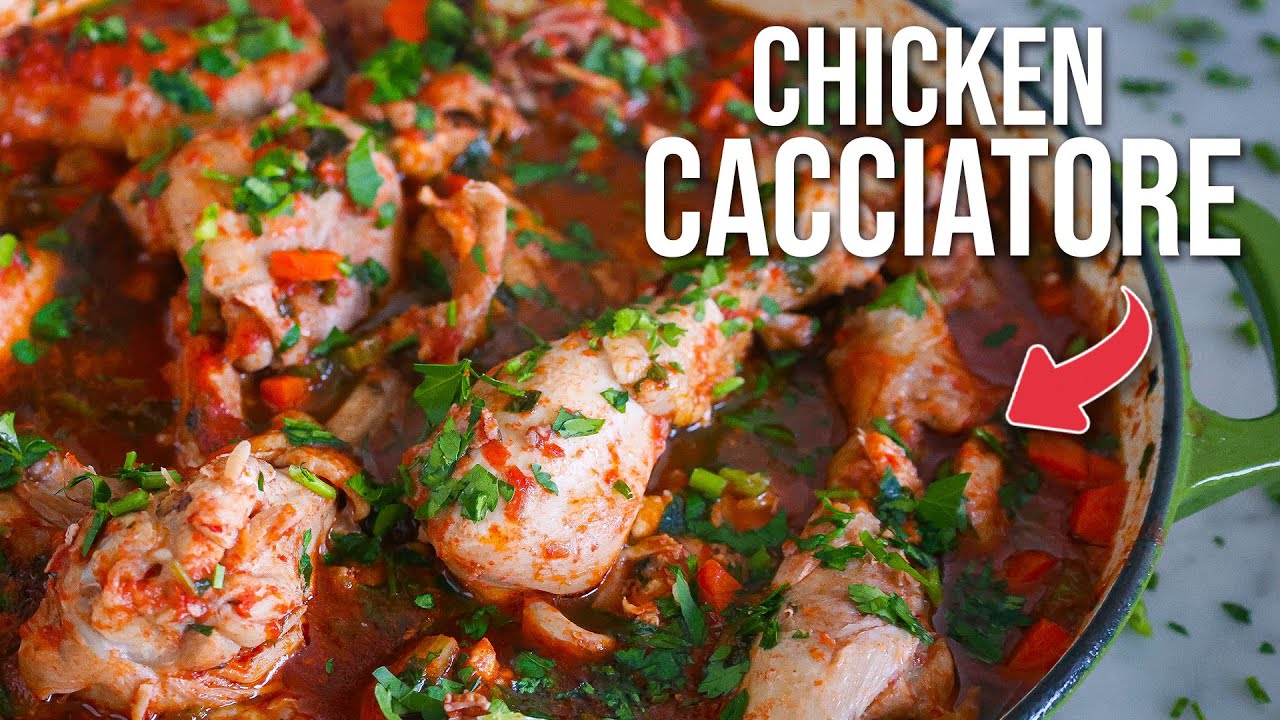
How to Make Moist Chicken Cacciatore – Step‑by‑Step Italian Recipe
Learn how to create a tender, flavor‑packed Chicken Cacciatore the authentic Tuscan way. This step‑by‑step guide walks you through browning, simmering, and finishing the dish in under an hour.
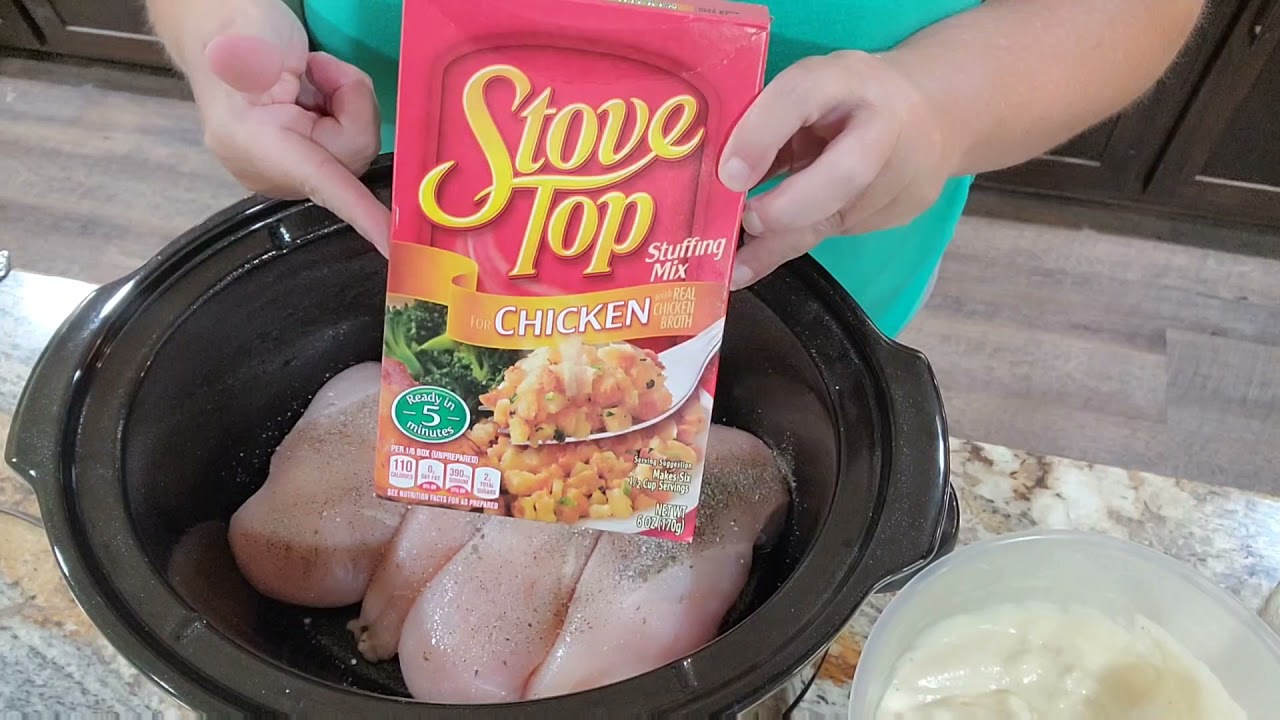
How to Make Summertime Thanksgiving in a Crock Pot Bowl - Easy One-Pot Meal
Learn to create a delicious Thanksgiving‑in‑the‑summer one‑pot dish using a crock pot, chicken, stuffing, and fresh summer sides. Perfect for busy days, this recipe cooks while you work and serves a comforting, festive meal in under five hours.