How to Make Kid-Friendly One-Pot Meals - 10 Easy Recipes for Busy Parents
Learn to whip up ten quick, nutritious one‑pot meals that kids love. From squid stir‑fry to shrimp oat risotto, each recipe uses simple ingredients, minimal cleanup, and kid‑approved flavors.
Learn how to make kid-friendly one-pot meals - 10 easy recipes for busy parents. Learn to whip up ten quick, nutritious one‑pot meals that kids love. From squid stir‑fry to shrimp oat risotto, each recipe uses simple ingredients, minimal cleanup, and kid‑approved flavors. This comprehensive guide will walk you through everything you need to know, from the materials and tools required to detailed step-by-step instructions. Whether you're a beginner, this guide has you covered.
What You'll Need
Materials
- Chicken breast(500 g)
Main protein for several dishes
Where to find: Supermarket or butcher
Cost: $6.99
- Ground beef(300 g)
Used in Jjajang rice and taco‑style wraps
Where to find: Supermarket meat aisle
Cost: $4.50
- Squid (cleaned)(200 g)
For quick stir‑fry
Where to find: Fish market or frozen section
Cost: $5.20
- Eggs(12)
For omelette rice, egg rolls, and protein boost
Where to find: Grocery store
Cost: $2.40
- Rice (short‑grain)(2 kg)
Base carb for most meals
Where to find: Grocery store
Cost: $3.00
- Oatmeal (quick‑cook)(200 g)
Used in shrimp oat risotto
Where to find: Grocery aisle
Cost: $1.80
- Soy sauce(250 ml)
Primary salty umami base
Where to find: Asian foods aisle
Cost: $2.00
- Oyster sauce(150 ml)
Adds depth to sauces
Where to find: Asian foods aisle
Cost: $2.20
- Sesame oil(100 ml)
Finishing oil for aroma
Where to find: Asian foods aisle
Cost: $3.00
- Stevia (liquid)(50 ml)(Optional)
Low‑calorie sweetener for sauces
Where to find: Health food store
Cost: $4.00
Tools
- Large non‑stick skillet or wok
Allows quick stir‑fry and one‑pot cooking
Alternatives: large saucepan
- Medium saucepan with lid
For rice, oatmeal risotto, and broth‑based dishes
Alternatives: Dutch oven
- Wooden spatula
Prevents scratching non‑stick surface
Alternatives: silicone spoon
- Measuring spoons set
Accurate sauce ratios
Alternatives: digital scale
- Sharp chef’s knife
For chopping vegetables and proteins
Alternatives: Santoku knife
- Cutting board
Protects countertops
Alternatives: plastic board
- Colander(Optional)
Rinses rice and vegetables
Alternatives: fine mesh sieve
- Mixing bowl
Whisking egg mixtures
Alternatives: large plate
Step-by-Step Instructions
Gather and Prep All Ingredients
Measure, wash, and cut everything before you start cooking.
The cornerstone of successful one‑pot cooking is mise en place—having every ingredient ready and within arm's reach. Begin by rinsing the rice until the water runs clear to remove excess starch, then set it aside to drain. Slice the chicken breast, ground beef, and squid into bite‑size pieces so they cook evenly and quickly. Peel and finely chop the onion, garlic, and any vegetables such as carrots, bell peppers, or cabbage. In a small bowl, combine soy sauce, oyster sauce, stevia, sesame oil, and minced garlic to create a versatile seasoning base that will be used across multiple recipes. Having these components pre‑measured saves you from scrambling for seasonings mid‑cook, reduces the risk of over‑cooking delicate seafood, and ensures consistent flavor throughout each dish. This step typically takes 10‑15 minutes, depending on your chopping speed and familiarity with the ingredients.
15 minutes
Tips:
- Use a food processor for quick shredding of cabbage
- Label your sauce mixture for easy reuse
Warnings:
- Handle raw chicken and squid separately to avoid cross‑contamination
Cook the Base Protein
Sear the chicken, beef, or squid in hot oil before adding sauces.
Heat a tablespoon of oil in your large non‑stick skillet over medium‑high heat until it shimmers. Add the protein of your choice—start with chicken pieces, spreading them in a single layer to achieve a golden crust. Let the chicken sear undisturbed for 2‑3 minutes; this creates caramelization that locks in juices and adds depth to the final dish. Flip and cook the other side until just cooked through, then remove the chicken and set aside. Repeat the process with ground beef, breaking it up with a spatula, and finally with squid, which only needs 1‑2 minutes per side to stay tender. Overcooking squid makes it rubbery, so watch it closely. This step builds a flavorful foundation and ensures each protein retains its unique texture before the sauces and vegetables are introduced.
10 minutes
Tips:
- Pat proteins dry with paper towels to reduce splatter
- Season lightly with salt before searing
Warnings:
- Do not overcrowd the pan; cook in batches to maintain high heat
Sauté Aromatics and Vegetables
Add garlic, onion, and veggies; cook until fragrant and slightly softened.
With the pan still hot, add a splash more oil if needed, then toss in minced garlic and sliced onion. Stir constantly for about 30 seconds until the garlic releases its aroma but does not brown, which can introduce bitterness. Next, add the chopped carrots, bell peppers, cabbage, or any other vegetables you prepared. Stir‑fry for 3‑4 minutes, allowing the vegetables to retain a slight crunch while releasing their natural sweetness. This balance of texture is crucial for kids who often prefer softer bites but still benefit from the nutrients of lightly cooked veggies. The sautéed aromatics will later meld with the sauce, creating a cohesive flavor profile throughout the dish.
5 minutes
Tips:
- Add a pinch of sugar to carrots to enhance their natural sweetness
Warnings:
- Watch the garlic closely; burnt garlic can ruin the dish
Incorporate the Sauce and Cook the Grain
Add the pre‑mixed sauce and rice or oatmeal; simmer until liquid is absorbed.
Return the cooked protein to the pan, then pour in the prepared sauce mixture, stirring to coat all ingredients evenly. Immediately add the drained rice or quick‑cook oatmeal, depending on the recipe you’re following. For rice, add 1½ cups of water for every cup of rice; for oatmeal, use a 2:1 liquid‑to‑oat ratio with milk or broth for extra creaminess. Bring the mixture to a gentle boil, then reduce the heat to low, cover, and let it simmer. This allows the grains to absorb the savory sauce, creating a cohesive, one‑pot meal where flavors meld together. Check after 10‑12 minutes for rice or 5‑7 minutes for oatmeal; the grains should be tender but not mushy. If needed, add a splash more water or broth to prevent sticking, especially with oatmeal which can thicken quickly.
12 minutes
Tips:
- Use a wooden spoon to gently fluff rice without breaking grains
Warnings:
- Do not lift the lid too often; steam is essential for proper cooking
Finish with Fresh Herbs and Sesame Seeds
Stir in chopped herbs, drizzle sesame oil, and sprinkle sesame seeds.
Once the grains have absorbed the liquid and the dish looks glossy, remove the pan from heat. Quickly fold in freshly chopped parsley, cilantro, or green onions for a burst of color and freshness that appeals to children’s eyes. Drizzle a teaspoon of sesame oil for a nutty aroma that elevates the overall taste. Finally, sprinkle toasted sesame seeds over the top; they add a subtle crunch and visual appeal. This finishing step not only enhances flavor but also introduces healthy fats and micronutrients. Allow the dish to rest for a minute so the residual heat can meld the final ingredients together, then serve directly from the pan to keep cleanup minimal.
2 minutes
Tips:
- Toast sesame seeds in a dry pan for 1 minute to bring out their flavor
Warnings:
- Avoid adding raw herbs too early; they can wilt and lose brightness
Plate and Serve Kid‑Friendly Portions
Divide the meal into bite‑size servings and add optional toppings.
Use a ladle or portion scoop to serve the one‑pot meal onto child‑friendly plates. For younger kids, consider using silicone muffin cups or small bowls to keep portions manageable and prevent spills. Top each serving with optional extras such as a soft‑boiled egg slice, a drizzle of ketchup for sweetness, or a sprinkle of shredded cheese for extra calcium. These customizable toppings let children personalize their meals, encouraging autonomy and making the dining experience more engaging. Ensure the food has cooled to a safe temperature—around 60 °C (140 °F) or lower—before serving to avoid burns. This step takes about 5 minutes and transforms a simple one‑pot dish into an attractive, kid‑approved plate.
5 minutes
Tips:
- Use a food thermometer to check temperature
Warnings:
- Never leave hot food unattended on the countertop
Store Leftovers Properly
Cool, portion, and refrigerate any remaining food within two hours.
If you have leftovers, allow the dish to cool at room temperature for no more than 30 minutes, then transfer it into airtight containers. Label each container with the date and store in the refrigerator for up to three days. For longer storage, portion the meal into freezer‑safe bags and freeze for up to two months. When reheating, add a splash of water or broth to restore moisture, and heat on the stovetop or microwave until steaming hot throughout. Proper storage maintains food safety, preserves flavor, and provides quick, nutritious meals for busy weekdays. This final step ensures you get the most value out of your cooking effort and reduces food waste.
10 minutes
Tips:
- Leave a small gap in the container lid to allow steam to escape during cooling
Warnings:
- Do not reheat more than once; repeated heating can increase bacterial risk
Conclusion
You've now learned how to make kid-friendly one-pot meals - 10 easy recipes for busy parents! By following these 7 detailed steps, you should be able to successfully complete this task. Remember to prep all ingredients before you start cooking to keep the process smooth. If you encounter any issues, refer back to the troubleshooting section above.
Common Mistakes to Avoid
❌ Overcooking squid makes it rubbery
✅ Stir‑fry squid for only 1‑2 minutes per side and remove as soon as it turns opaque
❌ Adding too much liquid causes soggy rice or oatmeal
✅ Measure liquids precisely and add extra only if the mixture looks dry during simmering
❌ Skipping the resting time leads to uneven temperature
✅ Let the finished dish sit covered for 2‑3 minutes after cooking to allow heat to distribute evenly
Troubleshooting
Problem: Rice is undercooked and still crunchy
Solution: Add ¼ cup more water, cover, and simmer on low for an additional 5 minutes
Problem: Sauce is too salty
Solution: Stir in a teaspoon of sugar or a splash of milk to balance the flavor
Problem: Dish is too dry after simmering
Solution: Gradually add warm broth or water, stirring gently until desired consistency is reached
Frequently Asked Questions
Can I use brown rice instead of white short‑grain rice?
Yes, but increase the cooking liquid to a 2:1 ratio and extend simmer time by 10‑12 minutes for proper softness
How do I make the recipes gluten‑free?
Replace soy sauce with tamari or coconut aminos and ensure the oyster sauce you use is gluten‑free; all other ingredients are naturally gluten‑free
What’s a good substitute for stevia if I don’t have it?
Honey, maple syrup, or a pinch of brown sugar can replace stevia; adjust the amount to keep the sauce balanced
Can I prepare the sauce ahead of time?
Absolutely—store the mixed sauce in an airtight jar in the refrigerator for up to 5 days; give it a quick shake before use
Is it safe to freeze the one‑pot meals with eggs?
Yes, as long as the eggs are fully cooked; freeze in portioned containers and reheat thoroughly before serving
Quick Info
- Difficulty
- Beginner
- Time Required
- 2 hours
- Estimated Cost
- $35.09 USD
- Category
- Food & Cooking
Safety First
- •Always wash hands before and after handling raw meat or seafood
- •Use oven mitts when removing hot pans from the stove
- •Keep knives sharp; a dull knife is more likely to slip
- •Never leave cooking food unattended on high heat
- •Store leftovers at 4 °C (40 °F) or below within two hours
Pro Tips
- •Prep all ingredients before you start cooking to keep the process smooth
- •Use a high smoke‑point oil like canola for stir‑frying to avoid burnt flavors
- •Taste the sauce before adding it to the pan; adjust sweetness with stevia or honey as needed
- •Keep the heat medium‑high; too low will steam ingredients instead of sear them
- •Serve meals with a colorful side like sliced cucumber or fruit to make the plate more appealing
Before You Start
- Basic knife skills for chopping vegetables
- Understanding of rice cooking ratios
- Familiarity with measuring spoons and cups
What's Next?
- →Explore one‑pot pasta variations with whole‑wheat noodles
- →Learn how to make homemade low‑sodium broth for even healthier sauces
- →Try incorporating seasonal vegetables to keep meals fresh and exciting
Related How-To Guides

How to Make Pokemon-Themed Desserts for Kids - Step by Step Fun Guide
Learn how to create adorable Pokemon-inspired desserts that kids will love. This step‑by‑step guide covers everything from planning the theme to decorating with fondant and candy, perfect for birthday parties or a fun family activity.

How to Make Perfect No-Knead French Baguettes – Crispy, Light, Step‑by‑Step for Beginners
Learn to bake authentic French baguettes at home without kneading. This step‑by‑step guide covers mixing, folding, shaping, and steaming for a crispy crust and airy crumb.

How to Make Rich Dried Pollack Soup – Step by Step Guide for Beginners
Learn to create a deep‑flavored, milky dried pollack (북어) soup that tastes like it was simmered in a traditional Korean cauldron. This guide walks you through every step, from prepping the fish to perfecting the broth.
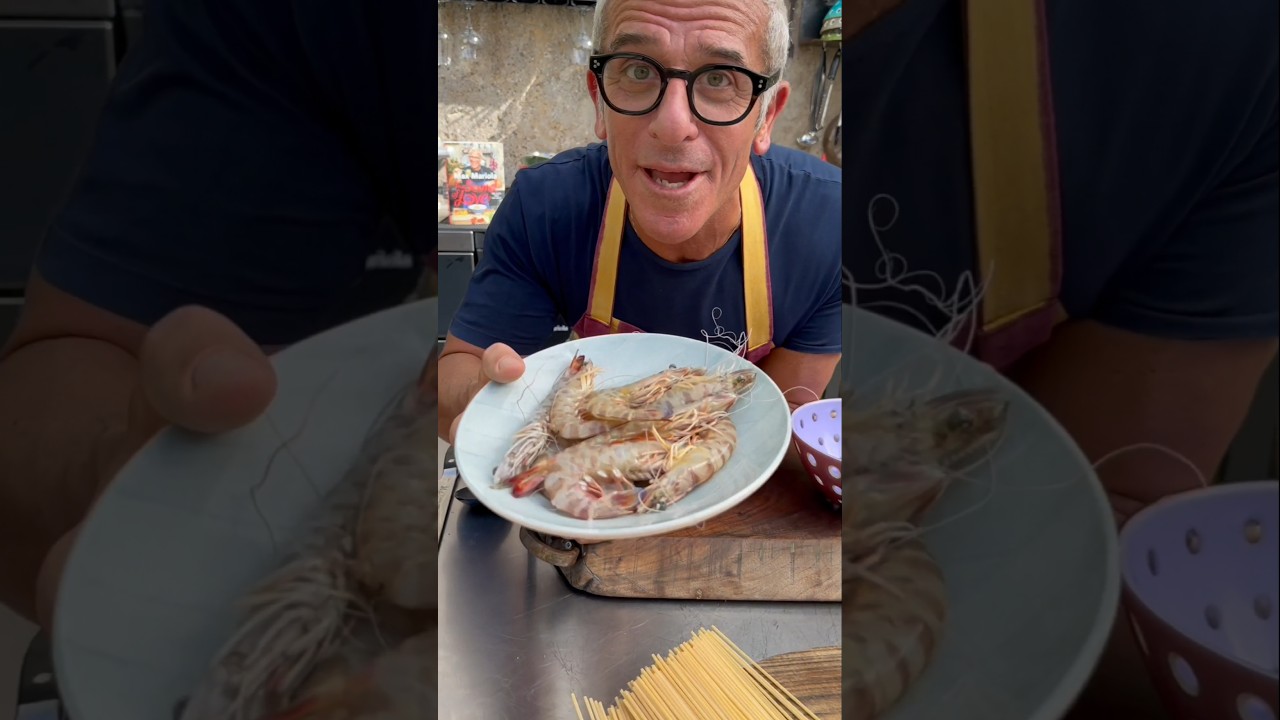
How to Make Creamy Shrimp Spaghetti – Step‑by‑Step Guide for Home Cooks
Learn to create a restaurant‑quality shrimp pasta in under an hour. This guide walks you through cleaning fresh mazzancolle, building a fragrant shrimp stock, and finishing a silky cream sauce that coats every strand of spaghetti.
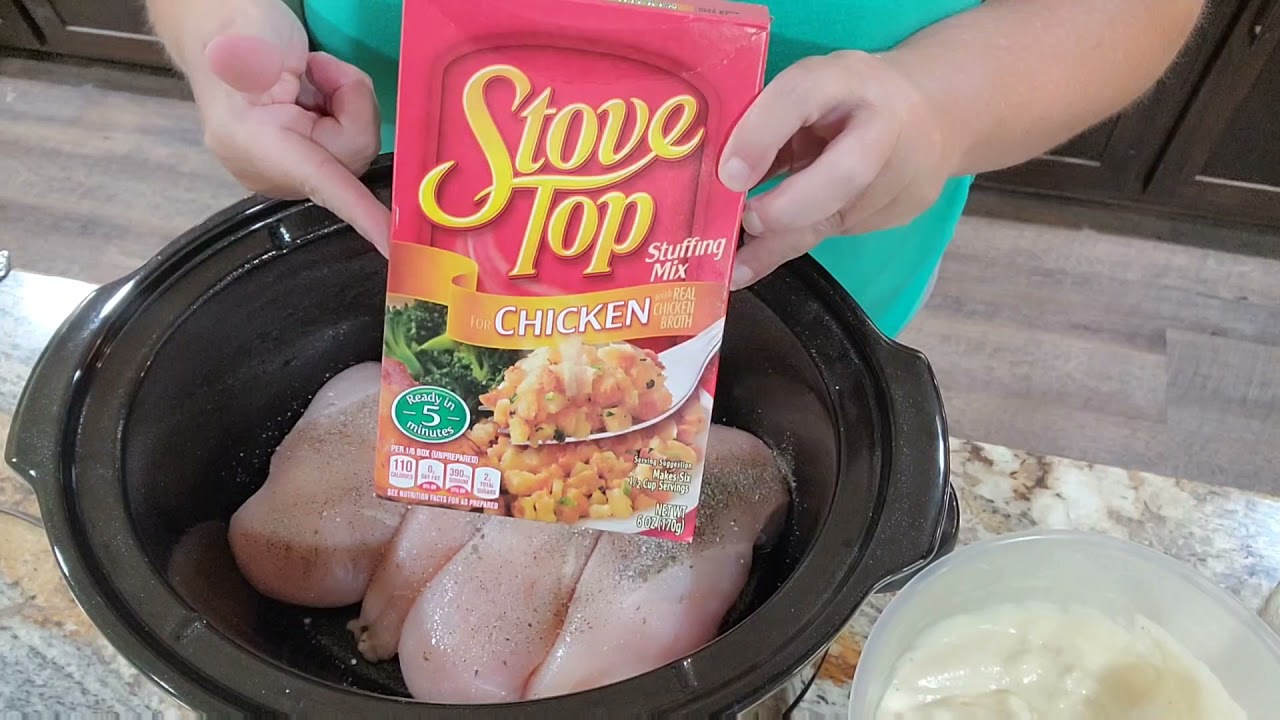
How to Make Summertime Thanksgiving in a Crock Pot Bowl - Easy One-Pot Meal
Learn to create a delicious Thanksgiving‑in‑the‑summer one‑pot dish using a crock pot, chicken, stuffing, and fresh summer sides. Perfect for busy days, this recipe cooks while you work and serves a comforting, festive meal in under five hours.
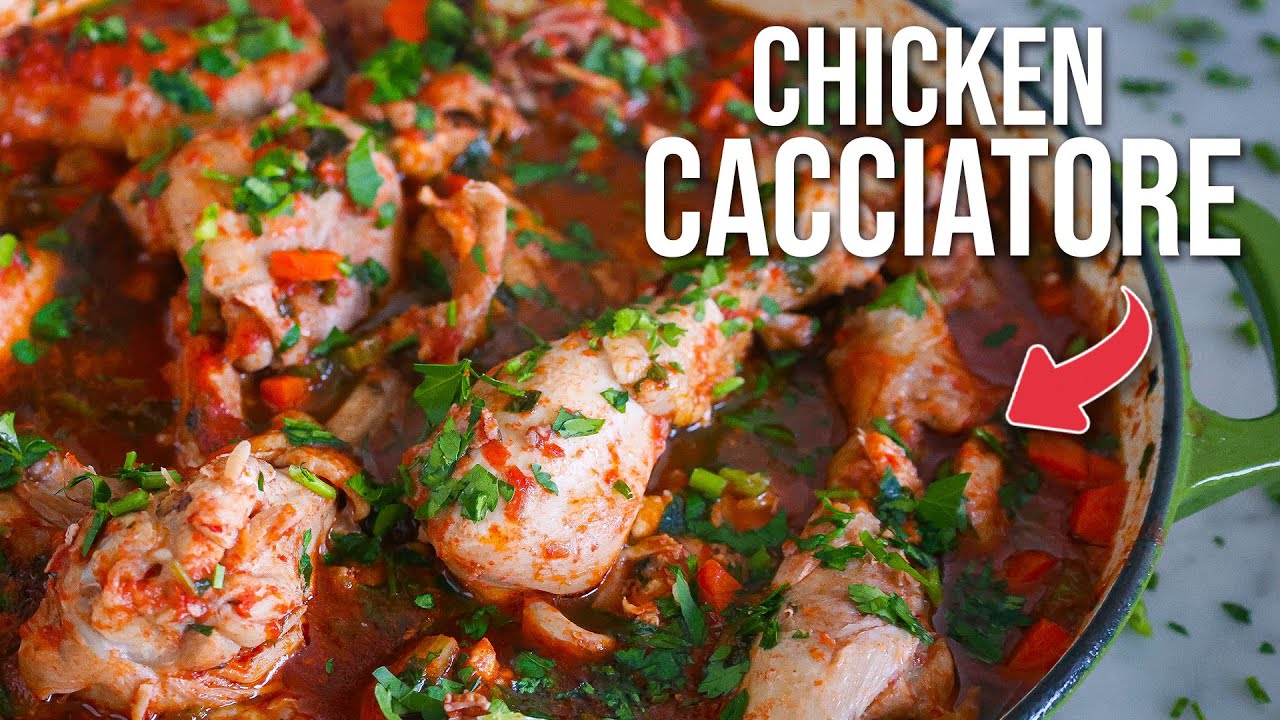
How to Make Moist Chicken Cacciatore – Step‑by‑Step Italian Recipe
Learn how to create a tender, flavor‑packed Chicken Cacciatore the authentic Tuscan way. This step‑by‑step guide walks you through browning, simmering, and finishing the dish in under an hour.