How to Make Rich Dried Pollack Soup – Step by Step Guide for Beginners
Learn to create a deep‑flavored, milky dried pollack (북어) soup that tastes like it was simmered in a traditional Korean cauldron. This guide walks you through every step, from prepping the fish to perfecting the broth.
Learn how to make rich dried pollack soup – step by step guide for beginners. Learn to create a deep‑flavored, milky dried pollack (북어) soup that tastes like it was simmered in a traditional Korean cauldron. This guide walks you through every step, from prepping the fish to perfecting the broth. This comprehensive guide will walk you through everything you need to know, from the materials and tools required to detailed step-by-step instructions. Whether you're a intermediate, this guide has you covered.
What You'll Need
Materials
- Dried pollack (북어)(80 g)
Main protein; gives the broth its signature flavor
Where to find: Korean market or Asian grocery
Cost: $5.00
- Onion(1 medium)
Thinly sliced for sweetness
Where to find: Any supermarket
Cost: $0.50
- Garlic cloves(6 cloves)
Halved, adds depth
Where to find: Supermarket
Cost: $0.30
- Green onion(1 stalk)
Garnish and light flavor
Where to find: Produce aisle
Cost: $0.40
- Tofu (firm)(300 g)
Adds body and protein
Where to find: Asian aisle
Cost: $1.20
- Baby napa cabbage(300 g)
Provides crunch and absorbs broth
Where to find: Produce section
Cost: $1.00
- Dried red chili (optional)(1 whole)(Optional)
Adds gentle heat; slice thinly
Where to find: Asian market
Cost: $0.20
- Sesame oil(2 Tbsp)
Toasting aromatics
Where to find: Oil aisle
Cost: $0.60
- Salt(4 pinches (≈½ tsp))
Seasoning
Where to find: Pantry
Cost: $0.05
- Water(2.5 L)
Base of the broth
Where to find: Tap
- Dried kelp (dashima)(1 large piece)
Umami enhancer
Where to find: Asian market
Cost: $0.30
- Dried anchovies (small, heads removed)(30 pieces)
Adds depth; remove before serving
Where to find: Korean grocery
Cost: $0.70
Tools
- Large wok or pot (5‑6 L capacity)
Allows even heat distribution and enough room for broth
Alternatives: Dutch oven
- Cutting board
For safe chopping
Alternatives: Clean kitchen countertop
- Sharp chef’s knife
Precise slicing of fish and vegetables
Alternatives: Santoku knife
- Kitchen scissors(Optional)
Easier for cutting dried chili
Alternatives: Knife
- Strainer or colander(Optional)
To rinse pollack and remove anchovies/kelp
Alternatives: Fine mesh sieve
- Measuring cups & spoons
Accurate water and seasoning amounts
Alternatives: Kitchen scale
- Ladle
For serving and stirring broth
Alternatives: Large spoon
Step-by-Step Instructions
Quickly rinse and pre‑soak the dried pollack
Rinse the pollack under cold water, then soak briefly (30‑45 seconds) and squeeze out excess moisture.
Dried pollack is extremely salty and tough; a quick rinse removes surface salt and any debris without rehydrating it fully, which would dilute the broth. By soaking only briefly, the fish retains its firm texture while allowing the surface to become pliable for cutting. After soaking, gently squeeze to expel water—this step also helps release some of the natural oils that contribute to the soup's umami. Skipping this step can result in overly salty broth or fish that disintegrates during simmering, compromising both flavor and appearance.
5 minutes
Tips:
- Use a shallow bowl for easy handling
- Do not soak longer than 1 minute
Warnings:
- Over‑soaking makes the fish mushy and reduces flavor concentration
Cut pollack and prepare aromatics
Slice pollack into 4 cm pieces; thinly slice onion, halve garlic cloves, and cut green onion diagonally.
Uniform pollack pieces (about 4 cm) ensure even cooking; too small pieces may fall apart, while too large pieces delay flavor extraction. Thinly sliced onion caramelizes quickly, releasing natural sugars that balance the fish's brininess. Halving garlic cloves prevents burning while still allowing the garlic’s aromatic oils to infuse the oil. Cutting green onion diagonally creates more surface area, making the garnish visually appealing and allowing a subtle onion note to emerge during the final simmer. Proper preparation at this stage sets the foundation for a layered, balanced broth.
10 minutes
Tips:
- Keep the knife sharp for clean cuts
- Reserve a small portion of green onion for garnish
Warnings:
- Avoid cutting pollack too thin; it will disintegrate
Toast aromatics in sesame oil
Heat wok, add 2 Tbsp sesame oil, then stir‑fry onion, garlic, and green onion until fragrant and lightly golden.
Sesame oil has a low smoke point but imparts a nutty aroma that is essential for Korean soups. When the oil heats, the onion softens and begins to caramelize, creating a sweet base that counteracts the fish’s saltiness. Garlic releases its pungent compounds, while green onion adds a fresh, slightly sharp note. Stir‑frying for 3‑4 minutes ensures the aromatics are cooked without burning, which would introduce bitterness. This step also creates a thin oil‑laden coating on the pollack pieces when they are added, helping the flavors meld more thoroughly during simmering.
5 minutes
Tips:
- Keep the heat medium to avoid scorching
- Add a pinch of pepper if you like mild heat
Warnings:
- Do not let the oil smoke; it will make the broth bitter
Add pollack and initial water
Place the pollack pieces into the wok, then pour enough water to just cover them (about 1 L).
Adding the pollack after the aromatics allows the fish to absorb the toasted flavors directly. The initial water volume should be just enough to submerge the fish; this concentration helps extract the deep umami quickly. As the water heats, the pollack releases its gelatin and natural salts, turning the broth milky. Stir gently to prevent the fish from sticking to the wok’s bottom. This step is crucial because starting with too much water dilutes the flavor, requiring a longer reduction later, while too little water can cause scorching.
3 minutes
Tips:
- Use a wooden spoon to gently separate fish pieces
- Skim any foam that rises initially
Warnings:
- Do not let the broth boil vigorously at this stage; a gentle rise preserves clarity
Introduce kelp and anchovies for depth
Add the large piece of dried kelp and 30 dried anchovies; simmer for 10 minutes, then remove them.
Dried kelp (dashima) and anchovies are traditional Korean broth enhancers, providing a deep, oceanic umami that cannot be achieved with fish alone. The kelp releases glutamates while the anchovies contribute a savory, slightly sweet note. Simmering for about 10 minutes extracts these compounds without over‑cooking, which could make the broth bitter. After the extraction, remove the solids to prevent a gritty texture and to keep the final soup clear of fish bones or scales. This step dramatically lifts the overall flavor profile, making the broth taste as if it had been simmered for hours.
12 minutes
Tips:
- Do not boil the kelp for more than 15 minutes; it becomes slimy
- Taste the broth before removing anchovies to adjust salt later
Warnings:
- Leaving anchovies in too long can make the broth overly fishy
Add cabbage and continue simmering
Stir in the sliced baby napa cabbage, sprinkle 3‑4 pinches of salt, and simmer for 15‑20 minutes.
Cabbage absorbs the broth’s flavors while contributing a subtle sweetness and a pleasant bite. Adding it after the kelp and anchovies ensures the cabbage cooks evenly without becoming mushy. Salt is added at this stage to season the vegetables and balance the natural brine from the pollack. Simmering for 15‑20 minutes allows the cabbage to become tender yet retain a slight crunch, which adds texture contrast to the silky broth. This period also gives the broth time to reduce, concentrating flavors and achieving the desired milky appearance.
20 minutes
Tips:
- Cover the wok loosely to prevent excessive evaporation
- Taste midway and adjust seasoning if needed
Warnings:
- Over‑cooking cabbage makes it disintegrate and cloud the broth
Finish with tofu and final seasoning
Add diced tofu, a pinch of additional salt if needed, and simmer for 2‑3 minutes until tofu is heated through.
Tofu adds a soft, protein‑rich component that absorbs the broth’s flavor without overpowering it. Because tofu is already cooked, a brief simmer (2‑3 minutes) is sufficient to warm it through and allow it to soak up the surrounding umami. This final addition also thickens the soup slightly, giving it a richer mouthfeel. Taste the soup now; if the broth feels thin or slightly bland, a final pinch of salt (or a dash of soy sauce) can bring the flavors back into balance. Avoid over‑seasoning, as the pollack and anchovies already contribute significant salt.
5 minutes
Tips:
- Cut tofu into uniform cubes for even heating
- Add tofu last to keep its shape intact
Warnings:
- Do not boil vigorously after adding tofu; it can break apart
Garnish and serve
Scatter the reserved green onion strips, half of the sliced dried chili (optional), and serve hot or chilled.
Garnishing adds visual appeal and a fresh bite that contrasts the deep broth. Green onion provides a mild sharpness, while the sliced dried chili offers a controlled heat that can be adjusted to personal preference. Serving the soup hot is traditional for winter, but chilling it for a summer refreshment highlights its clean, milky texture. Allow the soup to rest for a minute after plating so the flavors settle. Pair with a bowl of rice or kimchi for a complete Korean meal. This final step transforms a simple broth into a satisfying, restaurant‑quality dish.
2 minutes
Tips:
- If serving cold, refrigerate for 30 minutes before garnish
- Adjust chili amount based on spice tolerance
Warnings:
- Do not add extra chili before tasting; it can dominate the broth
Conclusion
You've now learned how to make rich dried pollack soup – step by step guide for beginners! By following these 8 detailed steps, you should be able to successfully complete this task. Remember to use a wok with a thick bottom to prevent scorching and ensure even heat distribution.. If you encounter any issues, refer back to the troubleshooting section above.
Common Mistakes to Avoid
❌ Soaking the pollack too long, making it mushy.
✅ Limit soaking to 30‑45 seconds; rinse quickly and squeeze out excess water.
❌ Adding all the water at once, causing a weak broth.
✅ Start with just enough water to cover the fish, then add more gradually as it reduces.
❌ Over‑cooking the cabbage, resulting in a cloudy soup.
✅ Add cabbage after the kelp and anchovies, and simmer only until just tender (15‑20 minutes).
Troubleshooting
Problem: Broth tastes bland after simmering.
Solution: Add a pinch more salt, a splash of soy sauce, or a few extra anchovies and kelp; let it simmer 5 minutes.
Problem: Soup is too salty.
Solution: Dilute with additional water (½ cup at a time) and simmer; balance with a small amount of sugar or a dash of rice vinegar.
Problem: Fish pieces fall apart during cooking.
Solution: Handle the pollack gently, keep the heat medium, and add the fish after aromatics are toasted to create a protective oil coating.
Frequently Asked Questions
Can I use fresh pollack instead of dried?
Yes, but fresh pollack requires a longer simmer (30‑40 minutes) and less salt. Adjust water volume accordingly.
Is it necessary to use both kelp and anchovies?
Both provide complementary umami; if one is unavailable, increase the amount of the other, but the flavor will be slightly less complex.
How long can I store leftover soup?
Refrigerate in an airtight container for up to 3 days; reheat gently to avoid over‑cooking the tofu.
Can I make this soup vegetarian?
Replace anchovies with dried shiitake mushrooms and omit kelp or use kombu; increase soy sauce for depth.
What side dishes pair well with this soup?
Steamed rice, kimchi, and a simple cucumber salad complement the rich broth and balance the meal.
Quick Info
- Difficulty
- Intermediate
- Time Required
- 45 minutes
- Estimated Cost
- $10.25 USD
- Category
- Food & Cooking
Safety First
- •Handle hot wok with oven mitts to avoid burns.
- •Use a splatter guard when stir‑frying aromatics to prevent oil splashes.
- •Ensure fish is fully cooked (internal temperature ≥ 63 °C) before serving.
Pro Tips
- •Use a wok with a thick bottom to prevent scorching and ensure even heat distribution.
- •Skim foam that rises during the first 5 minutes; it contains impurities that can cloud the broth.
- •If the broth becomes too salty, add a splash of water and let it simmer for a few minutes.
- •For a richer flavor, toast the dried kelp for 1 minute before adding water.
- •Slice the dried chili with kitchen scissors for cleaner cuts and less effort.
Before You Start
- Basic knife skills for slicing fish and vegetables
- Understanding of simmering vs. boiling
What's Next?
- →Experiment with adding mushrooms or seafood for variation
- →Learn to make homemade Korean fermented sauces to enhance flavor
Related How-To Guides

How to Make Pokemon-Themed Desserts for Kids - Step by Step Fun Guide
Learn how to create adorable Pokemon-inspired desserts that kids will love. This step‑by‑step guide covers everything from planning the theme to decorating with fondant and candy, perfect for birthday parties or a fun family activity.

How to Make Perfect No-Knead French Baguettes – Crispy, Light, Step‑by‑Step for Beginners
Learn to bake authentic French baguettes at home without kneading. This step‑by‑step guide covers mixing, folding, shaping, and steaming for a crispy crust and airy crumb.

How to Make Kid-Friendly One-Pot Meals - 10 Easy Recipes for Busy Parents
Learn to whip up ten quick, nutritious one‑pot meals that kids love. From squid stir‑fry to shrimp oat risotto, each recipe uses simple ingredients, minimal cleanup, and kid‑approved flavors.
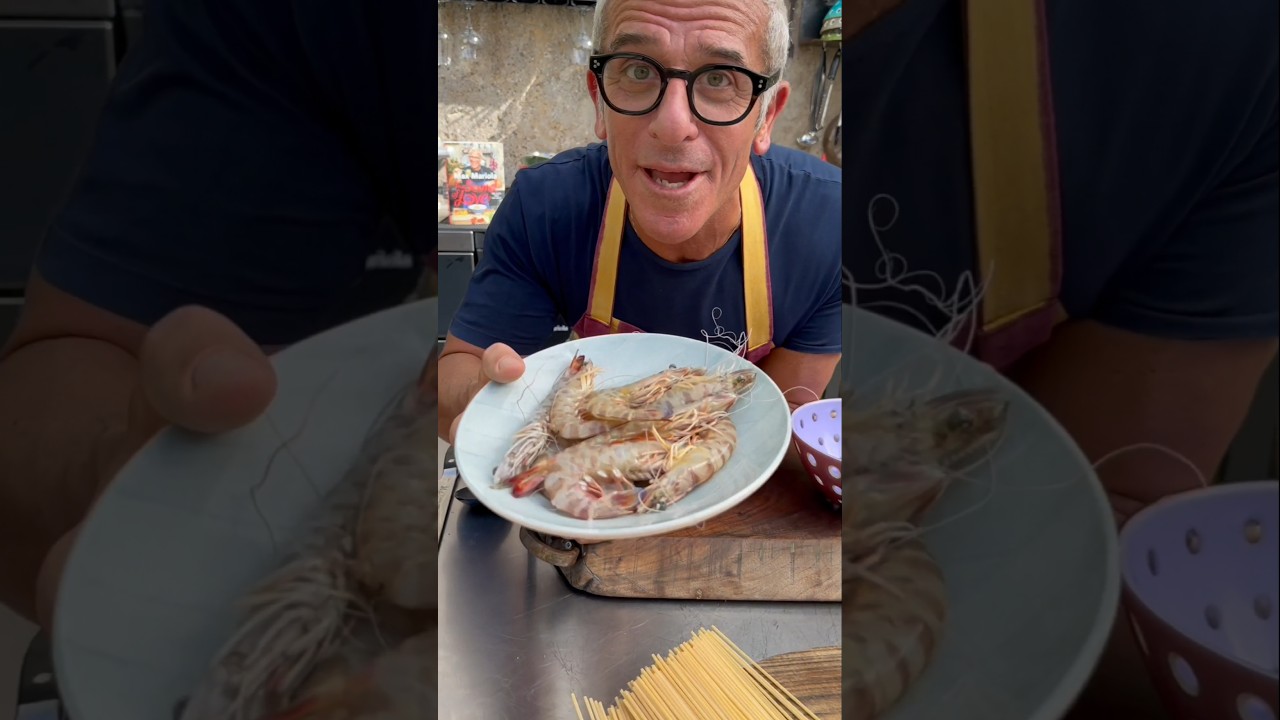
How to Make Creamy Shrimp Spaghetti – Step‑by‑Step Guide for Home Cooks
Learn to create a restaurant‑quality shrimp pasta in under an hour. This guide walks you through cleaning fresh mazzancolle, building a fragrant shrimp stock, and finishing a silky cream sauce that coats every strand of spaghetti.
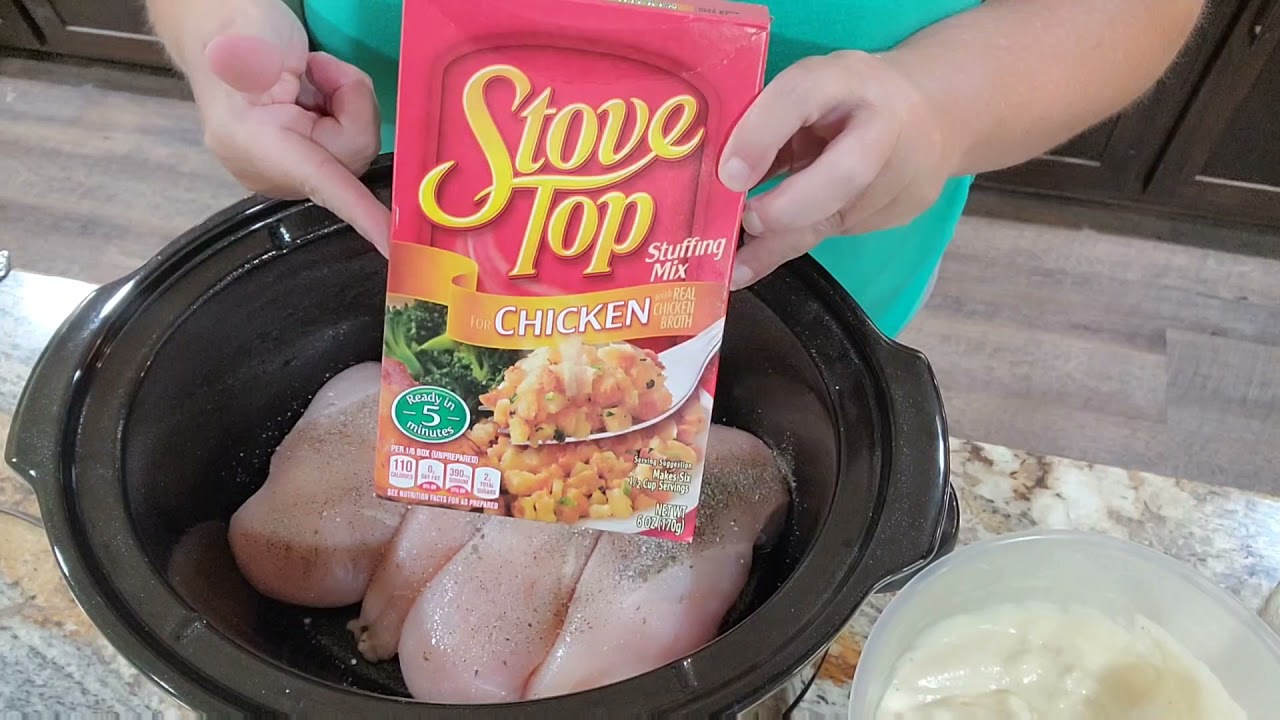
How to Make Summertime Thanksgiving in a Crock Pot Bowl - Easy One-Pot Meal
Learn to create a delicious Thanksgiving‑in‑the‑summer one‑pot dish using a crock pot, chicken, stuffing, and fresh summer sides. Perfect for busy days, this recipe cooks while you work and serves a comforting, festive meal in under five hours.
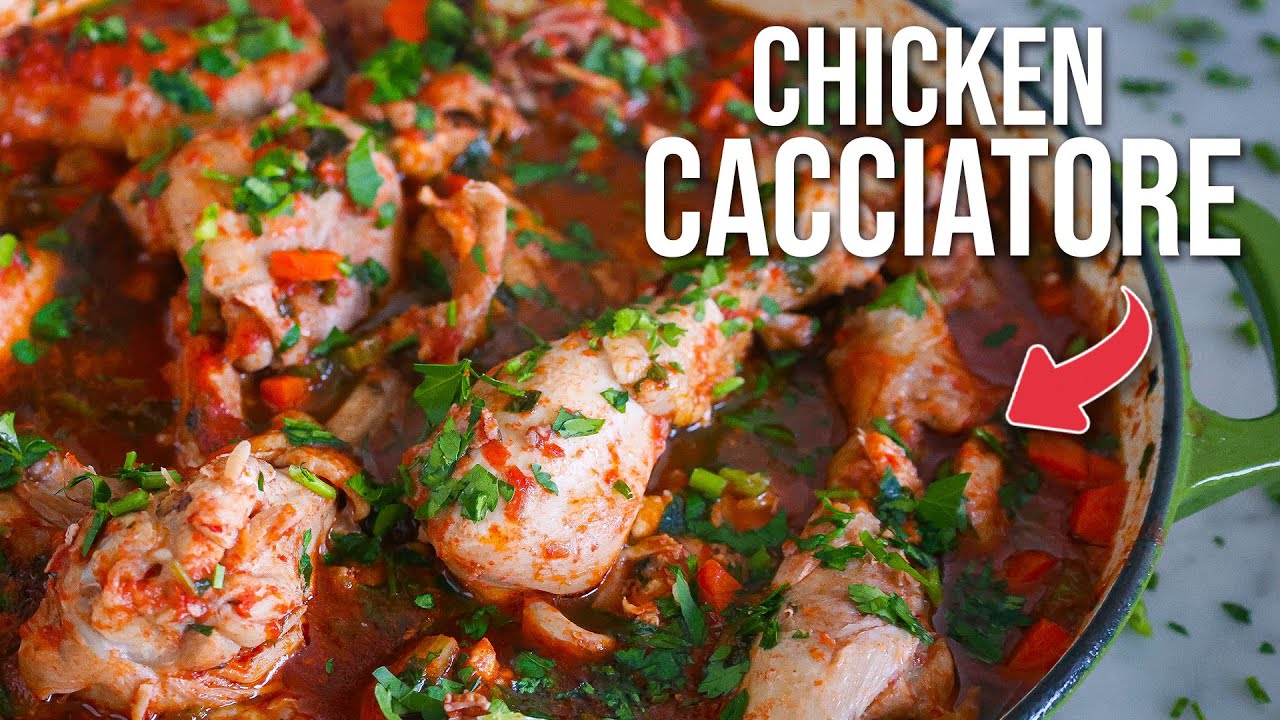
How to Make Moist Chicken Cacciatore – Step‑by‑Step Italian Recipe
Learn how to create a tender, flavor‑packed Chicken Cacciatore the authentic Tuscan way. This step‑by‑step guide walks you through browning, simmering, and finishing the dish in under an hour.