How to Make a Delicious Bread Pizza Sandwich – Quick Recipe for Beginners
Learn step‑by‑step how to turn simple bread, chicken, and pizza toppings into a tasty bread pizza sandwich in under 30 minutes. Perfect for snack‑time or a fast lunch!
Learn how to make a delicious bread pizza sandwich – quick recipe for beginners. Learn step‑by‑step how to turn simple bread, chicken, and pizza toppings into a tasty bread pizza sandwich in under 30 minutes. Perfect for snack‑time or a fast lunch! This comprehensive guide will walk you through everything you need to know, from the materials and tools required to detailed step-by-step instructions. Whether you're a beginner, this guide has you covered.
What You'll Need
Materials
- Bread slices (white or whole wheat)(4 slices)
Base for sandwich; crusts can be trimmed if desired
Where to find: Supermarket bakery aisle
Cost: $2.00
- Boneless chicken breast(200 g)
Cut into small cubes for quick cooking
Where to find: Butcher or grocery meat section
Cost: $4.50
- Pizza sauce (store‑bought or homemade)(3 Tbsp)
Adds classic tomato flavor
Where to find: Canned goods aisle
Cost: $1.20
- Mozzarella cheese, shredded(½ cup)
Melted layer for stretchiness
Where to find: Dairy section
Cost: $1.80
- Cheddar cheese, shredded(¼ cup)
Adds sharpness
Where to find: Dairy section
Cost: $1.00
- Mixed bell peppers (red, green, yellow)(½ cup, diced)(Optional)
Adds crunch and color
Where to find: Produce aisle
Cost: $1.00
- Onion, finely chopped(¼ cup)(Optional)
Provides sweetness
Where to find: Produce aisle
Cost: $0.30
- Black and green olives, sliced(2 Tbsp)(Optional)
Adds briny depth
Where to find: Canned goods aisle
Cost: $0.70
- Garlic‑ginger paste(1 tsp)
Base aromatics for chicken
Where to find: International foods aisle
Cost: $0.20
- Soy sauce(1 Tbsp)
Umami boost for chicken
Where to find: Condiments aisle
Cost: $0.10
Tools
- Non‑stick skillet or frying pan
For sautéing chicken and assembling sandwich
Alternatives: cast‑iron skillet, griddle
- Spatula or wooden spoon
Stirring and flipping
Alternatives: silicone turner
- Knife and cutting board
Chopping chicken and veggies
Alternatives: kitchen shears
- Microwave‑safe plate (optional)(Optional)
If using microwave method
Alternatives: small casserole dish
- Measuring spoons
Accurate ingredient portions
Alternatives: digital kitchen scale
Step-by-Step Instructions
Gather and Prep All Ingredients
Measure, slice, and set everything out before cooking begins.
Preparation is the backbone of any successful recipe. Start by washing the bell peppers, onion, and olives under cold water, then dice the peppers and onion into uniform pieces about a quarter‑inch size; this ensures even cooking and a pleasant texture in the final sandwich. Slice the olives lengthwise for easy distribution. Trim the bread if you prefer a neat edge, but leaving the crust on adds extra crunch. Cut the chicken breast into bite‑size cubes—roughly one‑centimeter pieces—so they brown quickly and stay juicy. Finally, measure out the pizza sauce, soy sauce, and spices. Having everything within arm's reach reduces kitchen chaos, shortens cooking time, and prevents the chicken from overcooking while you hunt for an ingredient.
10 minutes
Tips:
- Use a bowl to keep chopped veggies together
- Pat chicken dry with paper towels to improve browning
Warnings:
- Handle raw chicken with clean hands and separate cutting board
Sauté Aromatics and Cook Spiced Chicken
Heat oil, add garlic‑ginger paste, then chicken and spices.
Place the skillet over medium heat and add two to three tablespoons of oil; a neutral oil like canola works best because it won’t compete with the spices. Once shimmering, stir in the garlic‑ginger paste and let it sizzle for about 30 seconds—this releases its fragrant oils and creates a flavorful base. Add the chicken cubes, spreading them in a single layer. As the chicken begins to turn opaque, sprinkle in half a teaspoon of salt, half a teaspoon of black pepper, one tablespoon of tandoori masala, and a pinch of red chili flakes for heat. Stir continuously for two minutes; the spices will coat each piece, forming a thin, aromatic crust. Then pour in a tablespoon of soy sauce and a tablespoon of red chili sauce, followed by a pinch of dried oregano for an Italian twist. Cover the pan and let the chicken finish cooking for another three to four minutes, stirring occasionally to avoid sticking. This method locks in moisture while allowing the spices to meld, resulting in a juicy, well‑seasoned filling that mimics pizza toppings.
12 minutes
Tips:
- Do not overcrowd the pan; cook in batches if needed
- Taste a small piece to adjust salt or spice level
Warnings:
- Ensure chicken reaches an internal temperature of 75 °C (165 °F)
Toast the Bread Lightly
Quickly brown each slice on the skillet or in a toaster.
While the chicken finishes, turn the heat down to low and place each bread slice in the same skillet, skin side down, for about 30 seconds to a minute. This light toasting creates a barrier that prevents the bread from becoming soggy once the sauce and fillings are added. If you prefer a crispier texture, you can use a toaster or a separate pan with a little butter. The goal is a golden‑brown surface that adds a subtle crunch without burning. Lightly toasted bread also helps the melted cheese adhere better, giving the sandwich structural integrity when you flip it later. If you are using a microwave later, you can skip this step, but a quick pan‑toast still improves flavor.
3 minutes
Tips:
- Flip the bread only once to keep it even
Warnings:
- Watch closely; bread can burn quickly on high heat
Assemble the Sandwich Layers
Spread sauce, add chicken, cheese, and veggies on each slice.
Lay one toasted slice on a clean plate, then spread a generous tablespoon of pizza sauce across the surface, ensuring the edges are covered to prevent dry spots. Spoon the cooked spiced chicken evenly over the sauce, distributing the pieces so each bite gets protein and flavor. Sprinkle half of the shredded mozzarella and cheddar on top; the combination of a mild melt and a sharper bite creates a balanced cheese profile. Next, scatter the diced bell peppers, onion, and sliced olives over the cheese. These vegetables contribute sweetness, crunch, and a briny contrast that mimics classic pizza toppings. Finish with a light drizzle of any remaining pizza sauce, then place the second bread slice on top, sauce side down, to complete the sandwich. Press gently with your hand to compact the layers, which helps the sandwich hold together during cooking.
5 minutes
Tips:
- Add a pinch of extra oregano on top for aroma
Warnings:
- Avoid over‑filling; too much moisture can make the sandwich fall apart
Cook the Assembled Sandwich
Pan‑fry, bake, or microwave until cheese melts and bread is crisp.
Return the assembled sandwich to the skillet over medium‑low heat. Add a tiny dab of butter around the edges to encourage browning. Cover the pan with a lid for two to three minutes; the trapped steam melts the cheese while the bottom slice crisps. After the cheese softens, flip the sandwich carefully using a spatula, then cook the other side for another two minutes until golden. If you lack a stovetop, place the sandwich on a microwave‑safe plate, cover loosely with a paper towel, and microwave on high for 60‑90 seconds; the cheese will melt, though the crust will be softer. For oven lovers, preheat to 180 °C (350 °F) and bake on a tray for 8‑10 minutes, flipping halfway. Each method yields a slightly different texture, but all ensure a gooey interior and a satisfying crunch.
8 minutes
Tips:
- Use a lid to trap heat for faster cheese melt
Warnings:
- Do not leave unattended; cheese can splatter and cause burns
Serve, Garnish, and Store Leftovers
Plate the sandwich, add optional garnish, and store any extra.
Slide the hot sandwich onto a serving plate and, if desired, garnish with a sprinkle of fresh oregano or chopped cilantro for a bright finish. Cut the sandwich diagonally for easier handling and a more appealing presentation. Serve immediately while the cheese is still stretchy. If you have leftovers, let the sandwich cool to room temperature, then wrap tightly in foil or an airtight container. It can be reheated in a toaster oven or skillet for best texture; microwaving will soften the crust but retains flavor. Proper storage keeps the sandwich fresh for up to two days, making it a convenient make‑ahead snack for busy weekdays.
2 minutes
Tips:
- Pair with a side of ketchup or extra pizza sauce for dipping
Warnings:
- Avoid refrigerating with lettuce; it wilts quickly
Conclusion
You've now learned how to make a delicious bread pizza sandwich – quick recipe for beginners! By following these 6 detailed steps, you should be able to successfully complete this task. Remember to use pre‑cooked rotisserie chicken to shave off cooking time. If you encounter any issues, refer back to the troubleshooting section above.
Common Mistakes to Avoid
❌ Bread becomes soggy after adding sauce
✅ Toast the bread lightly first and spread sauce evenly, not too thickly
❌ Chicken undercooked or dry
✅ Cut chicken into small cubes, cook over medium heat, and cover briefly to retain moisture
❌ Cheese doesn’t melt fully
✅ Cover the pan with a lid or use low heat; this traps steam and helps cheese melt evenly
Troubleshooting
Problem: Sandwich falls apart when flipping
Solution: Press the sandwich gently before cooking and use a wide spatula to support the whole piece
Problem: Excess oil makes the sandwich greasy
Solution: Pat cooked chicken with paper towels and use only 1‑2 Tbsp oil for sautéing
Problem: Spice level too intense
Solution: Reduce red chili flakes and chili sauce, or add a spoonful of plain yogurt to mellow heat
Frequently Asked Questions
Can I use a different protein instead of chicken?
Absolutely—paneer cubes, cooked shrimp, or even canned tuna work well; just adjust cooking time accordingly.
Do I need a pizza oven to make this sandwich?
No. A regular stovetop pan, microwave, or conventional oven can achieve the same result; the recipe is flexible to the tools you have.
How long can I store the sandwich in the fridge?
Wrapped tightly, it stays fresh for 2 days. Reheat in a skillet for best texture, or microwave if you’re in a hurry.
What if I don’t have tandoori masala?
Replace it with a mix of paprika, cumin, and a pinch of garam masala to approximate the flavor profile.
Is this recipe suitable for vegetarians?
Yes—swap the chicken for tofu or roasted vegetables and keep the cheese or use a vegan alternative.
Quick Info
- Difficulty
- Beginner
- Time Required
- 30 minutes
- Estimated Cost
- $12.80 USD
- Category
- Food & Cooking
Safety First
- •Always wash hands after handling raw chicken
- •Use oven mitts when flipping the sandwich on a hot pan
- •Keep children away from the stovetop while cooking
Pro Tips
- •Use pre‑cooked rotisserie chicken to shave off cooking time
- •Adjust chili flakes to suit your heat tolerance
- •Toast the bread on both sides for extra crunch
- •Add a dash of smoked paprika for a subtle smoky note
- •If you like extra tang, drizzle a little balsamic glaze before serving
Before You Start
- Basic knife skills for chopping vegetables
- Understanding of medium‑heat sautéing
What's Next?
- →Experiment with different breads like focaccia or naan
- →Try adding a drizzle of garlic aioli for extra richness
Related How-To Guides

How to Make Pokemon-Themed Desserts for Kids - Step by Step Fun Guide
Learn how to create adorable Pokemon-inspired desserts that kids will love. This step‑by‑step guide covers everything from planning the theme to decorating with fondant and candy, perfect for birthday parties or a fun family activity.

How to Make Perfect No-Knead French Baguettes – Crispy, Light, Step‑by‑Step for Beginners
Learn to bake authentic French baguettes at home without kneading. This step‑by‑step guide covers mixing, folding, shaping, and steaming for a crispy crust and airy crumb.

How to Make Kid-Friendly One-Pot Meals - 10 Easy Recipes for Busy Parents
Learn to whip up ten quick, nutritious one‑pot meals that kids love. From squid stir‑fry to shrimp oat risotto, each recipe uses simple ingredients, minimal cleanup, and kid‑approved flavors.

How to Make Rich Dried Pollack Soup – Step by Step Guide for Beginners
Learn to create a deep‑flavored, milky dried pollack (북어) soup that tastes like it was simmered in a traditional Korean cauldron. This guide walks you through every step, from prepping the fish to perfecting the broth.
How to Make Creamy Shrimp Spaghetti – Step‑by‑Step Guide for Home Cooks
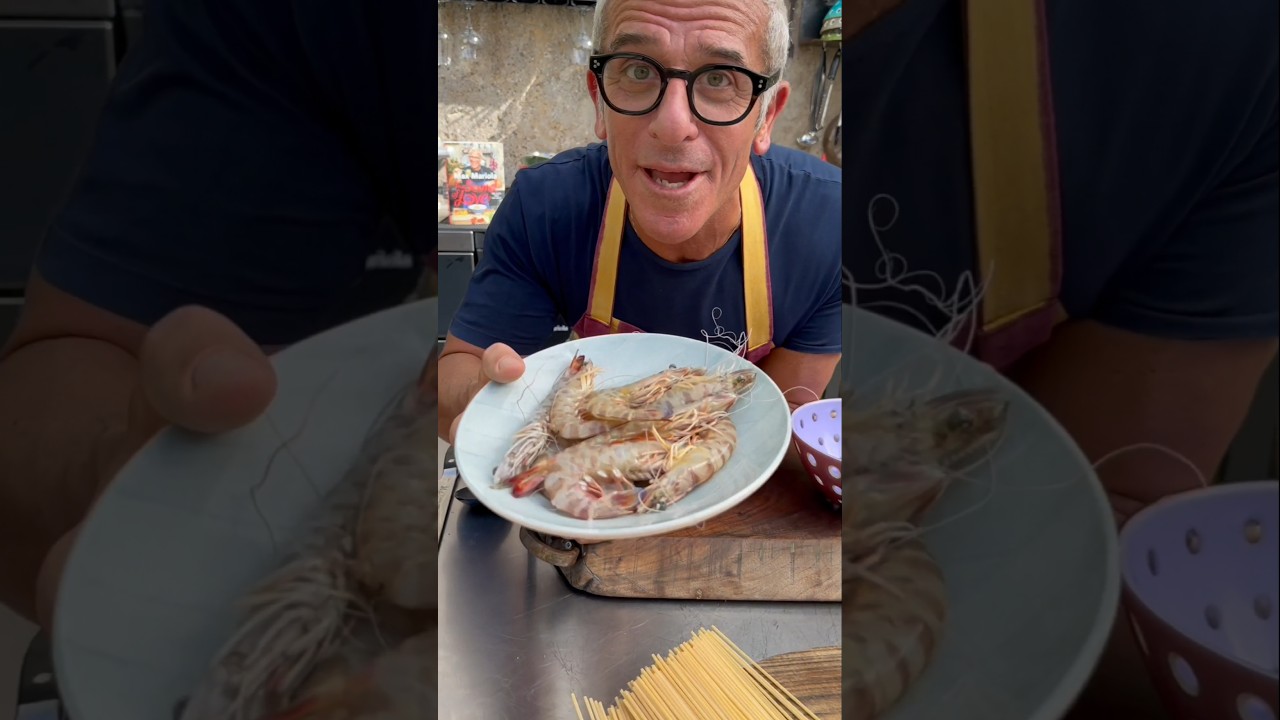
Learn to create a restaurant‑quality shrimp pasta in under an hour. This guide walks you through cleaning fresh mazzancolle, building a fragrant shrimp stock, and finishing a silky cream sauce that coats every strand of spaghetti.
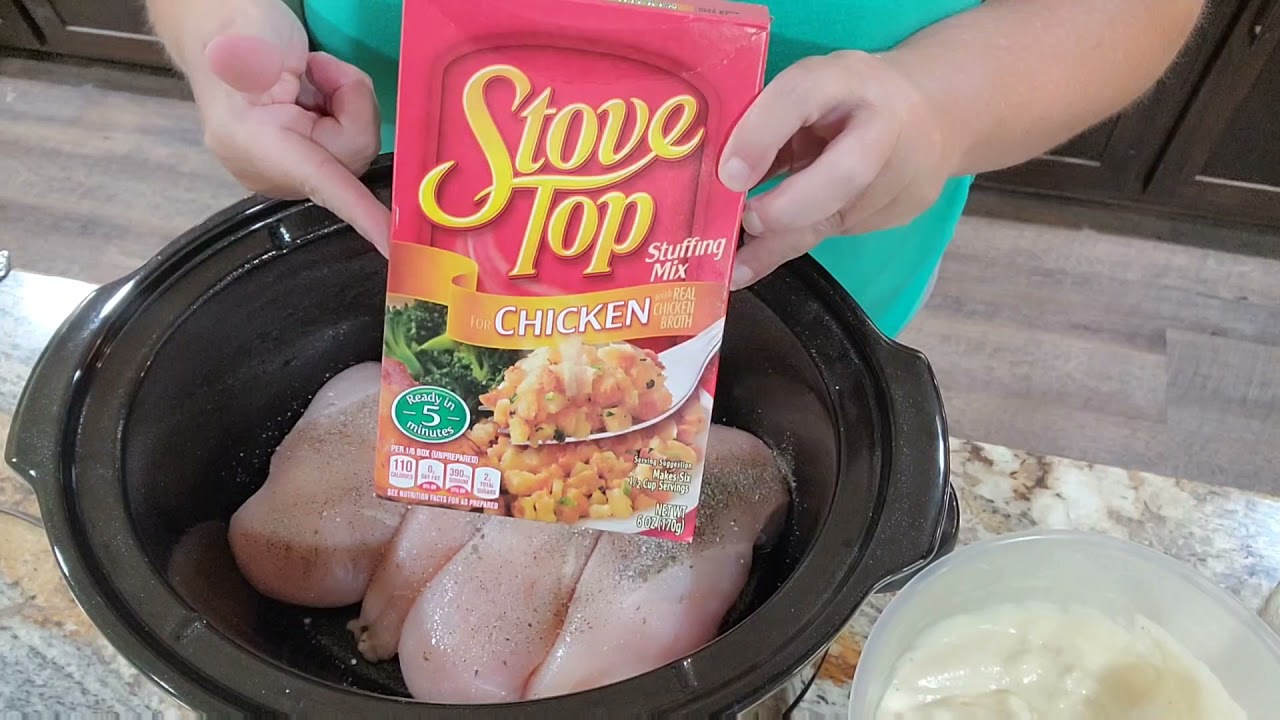
How to Make Summertime Thanksgiving in a Crock Pot Bowl - Easy One-Pot Meal
Learn to create a delicious Thanksgiving‑in‑the‑summer one‑pot dish using a crock pot, chicken, stuffing, and fresh summer sides. Perfect for busy days, this recipe cooks while you work and serves a comforting, festive meal in under five hours.